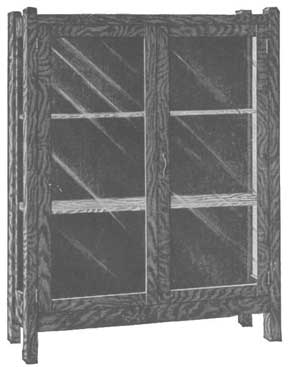
Mission Style China Closet
|
This beautiful china closet can be made by anyone who has a few good tools and knows how to use them. The cost is very moderate and if you are convenient to a mill a great amount of labor can be saved by ordering the pieces ready cut to length, squared, and sanded. Quarter-sawed oak should be used and the material needed will be as follows:
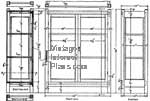
First be sure the posts are perfectly square and of equal length. Either chamfer or round the upper ends as desired. The mortises can be laid out and cut, or they can be left until the tenons are all made and then marked and cut directly from each tenon. The top and bottom boards should have the corners cut to clear the posts as shown in the drawing. The top board should be finished on both sides and the bottom one on the upper side only and be sure to get the best side up. Cut the tenons on the front boards back 1/4 in. from the face as shown in the end view. The boards should be finished on the outside sides and edges. The end pieces are fitted and finished in a similar manner except that the inside edge is rabbeted for the glass as shown. The side pieces are also rabbeted for the glass and the posts have grooves 1/2 in. deep cut in them to hold these side pieces. They are glued in place and this can be done after the frame is put together. The two shelves are finished on both sides and the front edges. The doors are fitted in the usual manner by a tenon and mortise joint at the ends. They are rabbeted on the inside for the glass and are finished on all sides. Before gluing any of the parts together, see that they all fit and go together perfectly square. The posts, side, and front pieces should be glued and assembled, then the top and bottom boards put in place to hold the frame square when the clamps are put on. Leave dry for about 24 hours, then scrape all the surplus glue from about the joints as the finish will not take when there is any glue. Fasten the top and bottom boards to the frame by means of screws through cleats as shown in the drawing. The backing is put on and finished on the front side. A mirror can be put in the back without much trouble, if it is desired. The shelves should be put in place and held at the back by screws through the backing and at the front by two small blocks on the posts as shown. After the closet is all assembled it should be thoroughly gone over with fine sandpaper before any finish is applied. It can be finished in any one of the many mission stains which are supplied by the trade for this purpose. |

